GINGER JEANS : : CLOSET CASE FILES
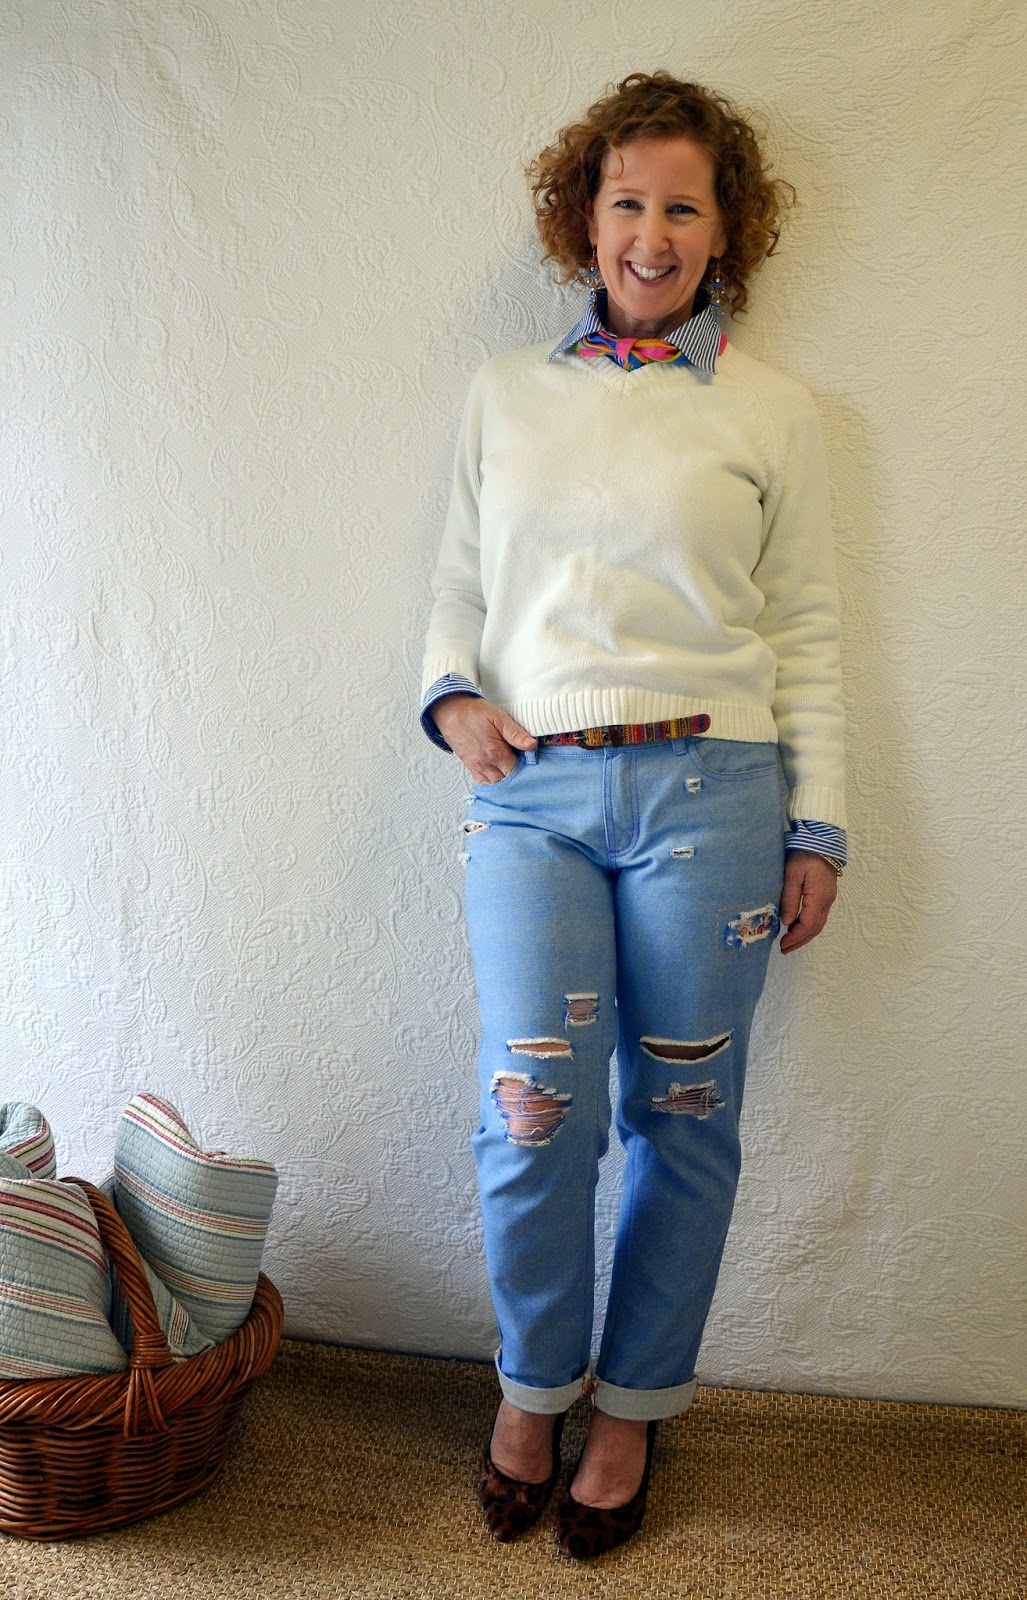
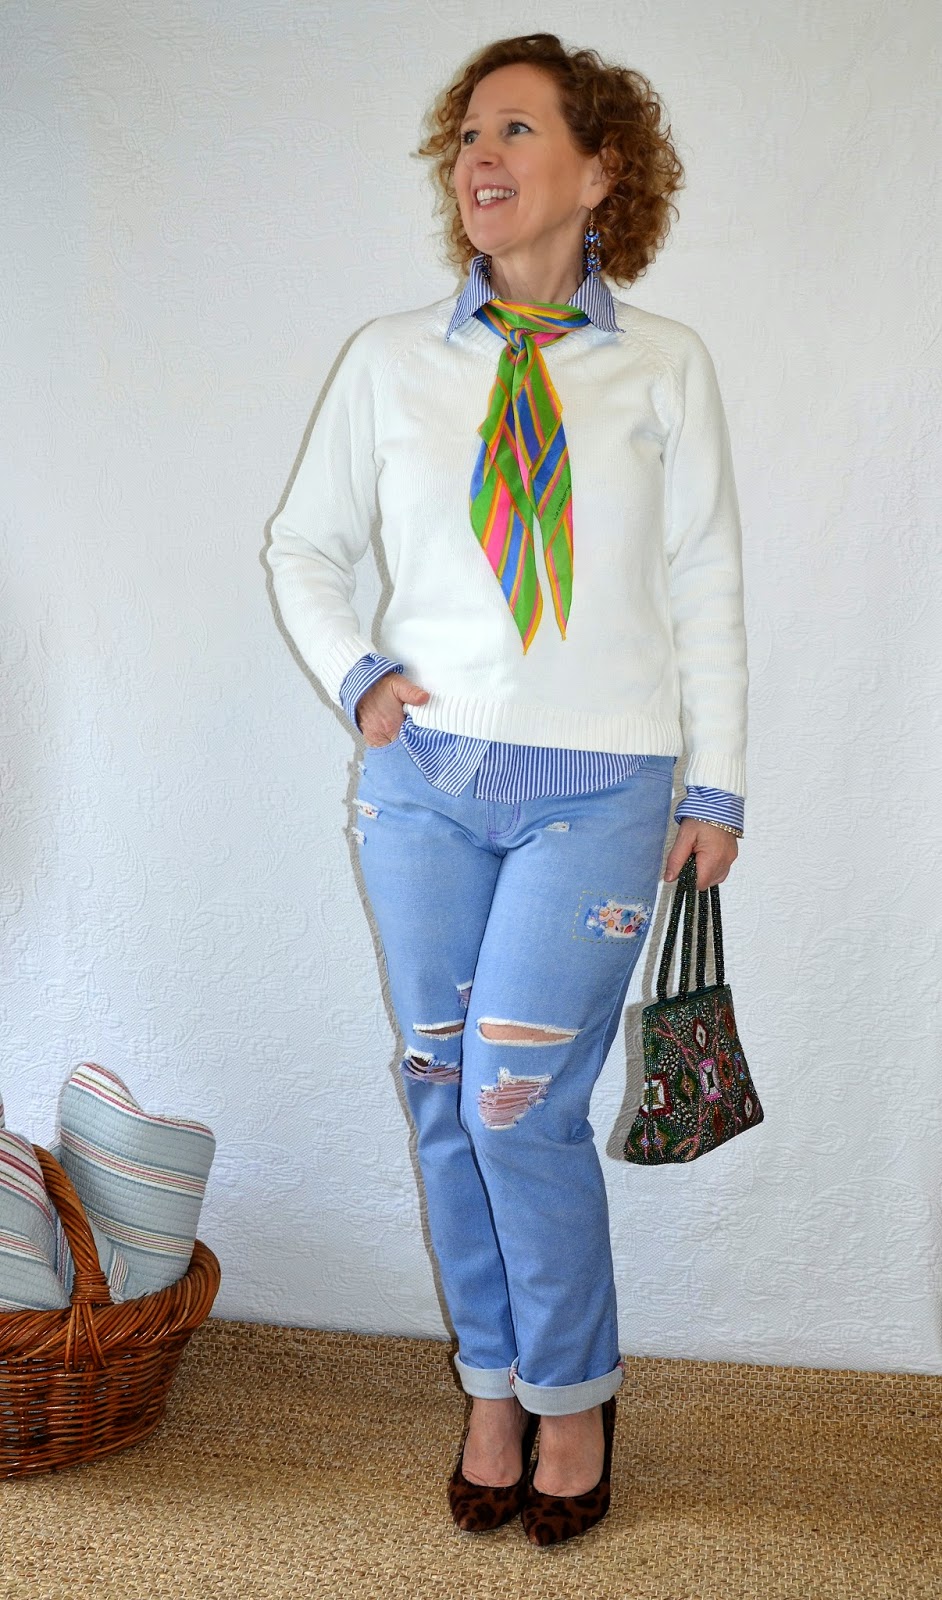
I may, or may not, have worn damp jeans when in my teenage years. In my defense, it was the seventies, and to get that coveted fit…well, you put your jeans on before they were completely dry. As the denim dried, the fabric shrunk…just right. Of course, as the days rolled by, the fabric eased…knees and bottoms got baggy, and waistbands got looser. Why? Well, due to the unique weave of denim, the cotton fibers gently stretch with wear. These days, a lot of denim gets a boost of stretch with the addition of spandex/lyrca/elastane synthetic fibers. There’s no longer the need (need?…hahaha) for donning wet jeans…but, on the flip side, that fabric can stretch out in a single wear. I weighed in on both fabrications, looked at my limited choices in the local fabric stores, and settled on buying both traditional denim and stretch denim! This pair, my first Ginger Jeans make, is sewn with 100% cotton….and no, I did not put them on damp. I still think I got a killer fit, thank you very much! I sewed version A, the stovepipe silhouette and I added a little length (5/8″) to the rise. The finished look is very much the distressed, slightly easy, fit I was hoping for.
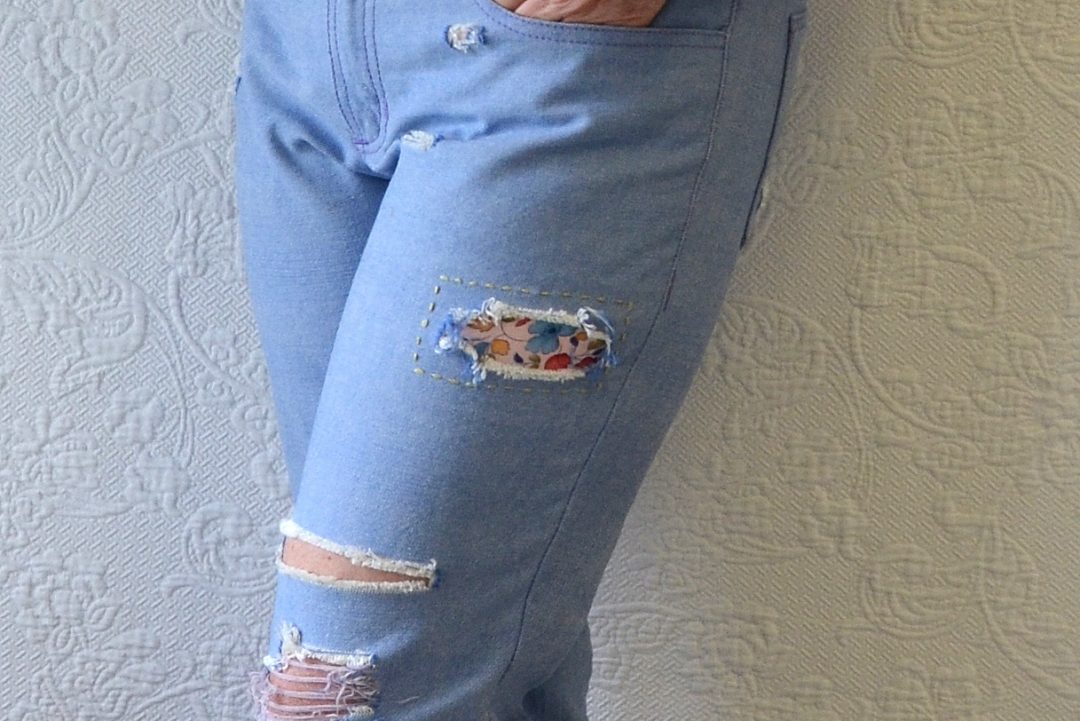
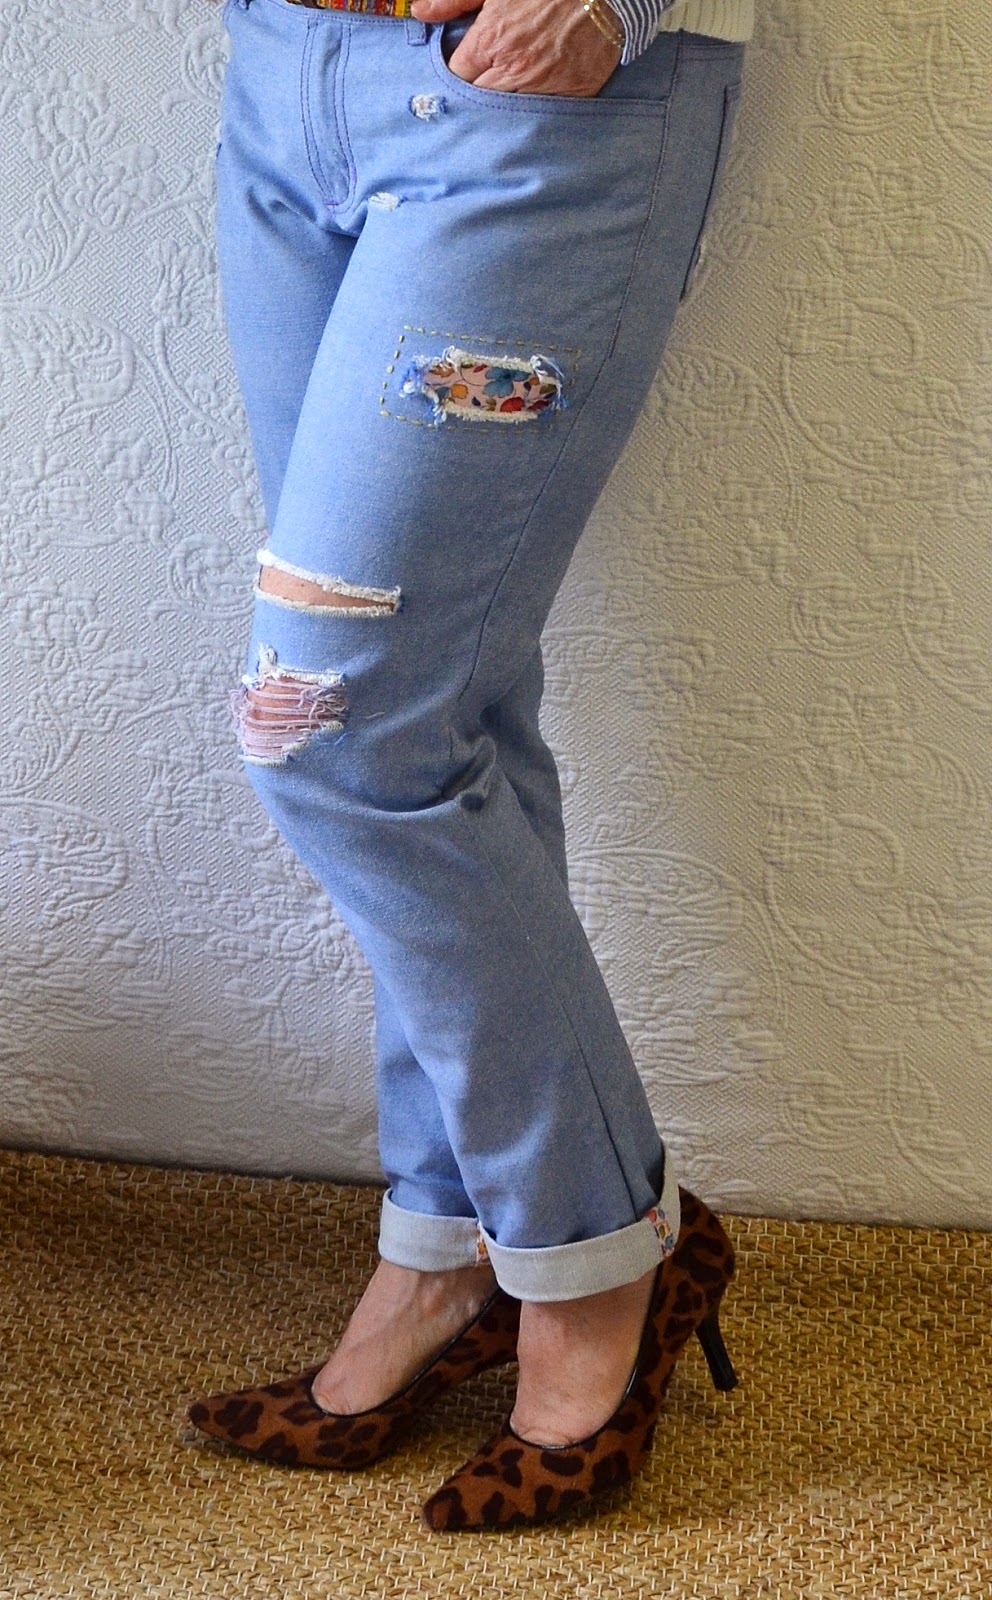
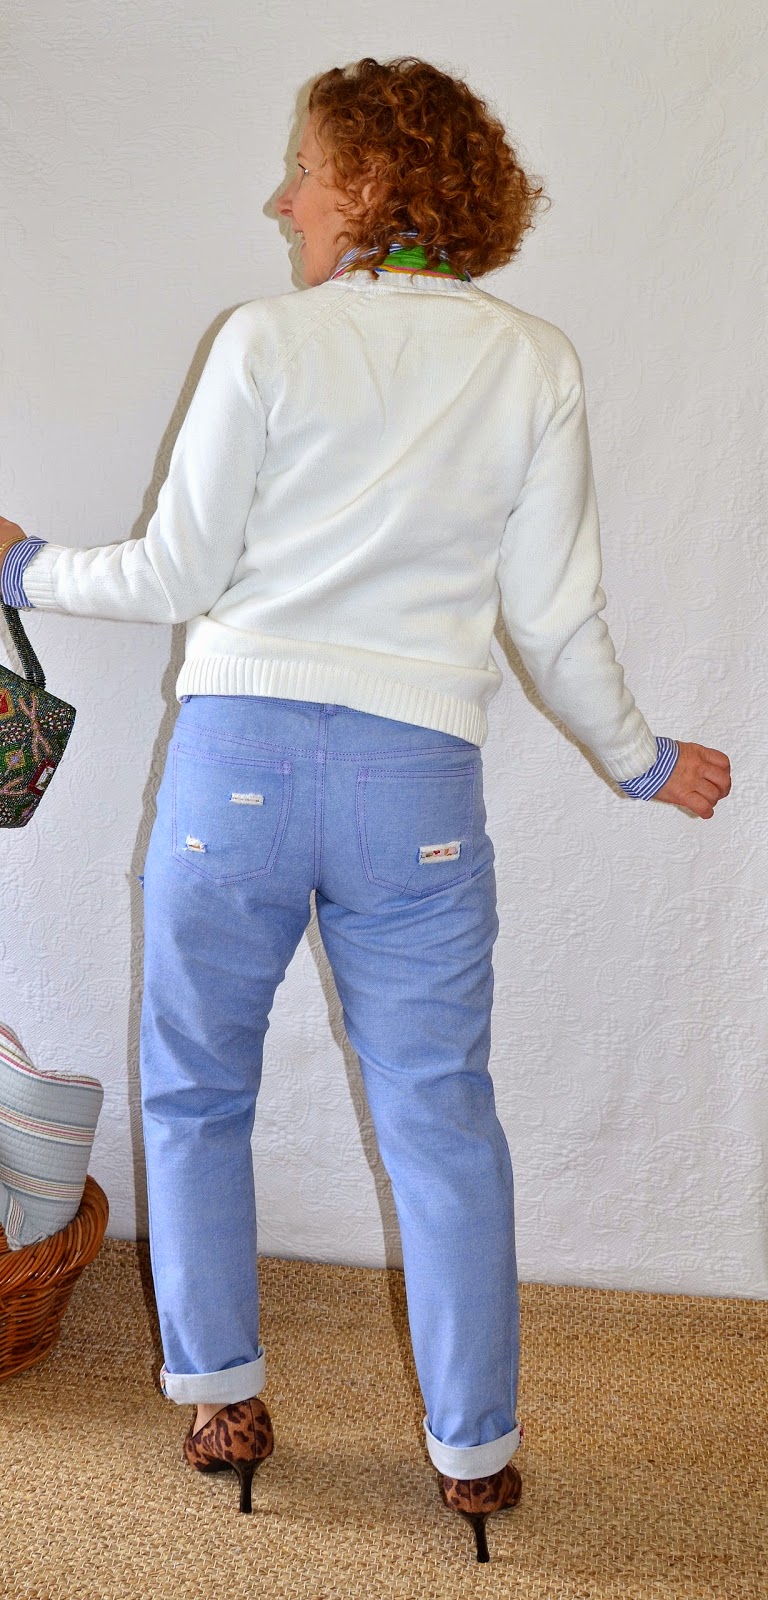
Why sew jeans in the first place? Well, I was drawn to the idea of imprinting some of my own personality on an article of clothing that is an almost everyday wear. When I started seeing Ginger Skinny Jeans by Closet Case Files, I thought, here’s my chance to have a little fun. And fun I did have. It started with the pocket lining (not shown), a cheery, flowery print. I used the same print for a ripped patch, and I also lined my back pockets…that way the lining fabric peaks through the rips. I also finished the seam edges at the bottom of the jeans…when I roll them up, I get another little bit of individuality. The zipper and top stitching thread, both lilac! And the obvious? Distressed denim. Something I’ve been wanting to have a go at for some time. I almost ditched the plan due to the cross-wise thread being blue, not white (bleach softened the blue to a light pink). In the end, I’m pretty pleased with how they turned out, although I’m hoping they look more aged with future laundering.
So, do you like distressed jeans? Did you put on your jeans damp? Does it feel wrong to you to mangle perfectly good fabric? With these jeans, I did the major cuts before I had even begun sewing them together. I was pretty sure I wouldn’t have been able to do it after completing my garment. To rephrase; technically, I could have attacked at any time with a seam ripper and scissors, but I know myself well enough to doubt my ability to intentionally destroy a brand new make.
I’m looking forward to sewing the pattern again with my stretch denim. I want to try the super skinny version, and by necessity, I’ll be refitting the pattern….we all know how fun (not) that is….mwahahahahaha. The good news is that this was, for me, a very straightforward make. And Heather Lou has so many cool tips for making your jeans look professionally done. The pocket tips are superb! I can’t help it…I’ve been totally eyeballing the rear pockets on women’s jeans since this make…GAH. There does appear to be one misprint in the pattern instructions. The written instructions advise to edge finish the fly front extension on the right leg only. The online sewalong instructs to finish the left leg…I sewed the right leg, and yep, it’s the left leg that I should have finished. Ah well, I was able to trim it a bit with pinking shears.
‘nuf said. Hope you are all enjoying January 2015. I’ll see you soon…
Linking up with Patti of Not Dead Yet Style for Visible Monday





No Comments